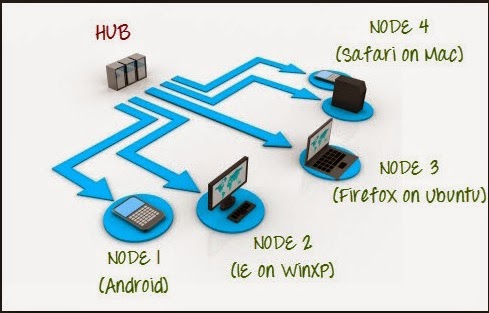
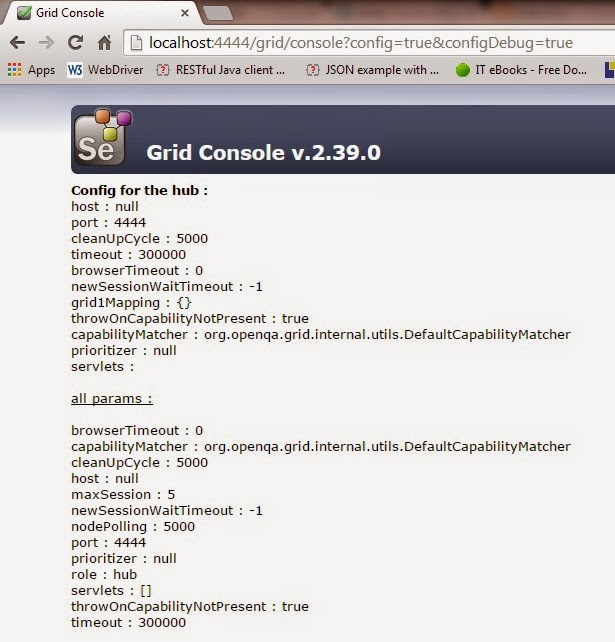
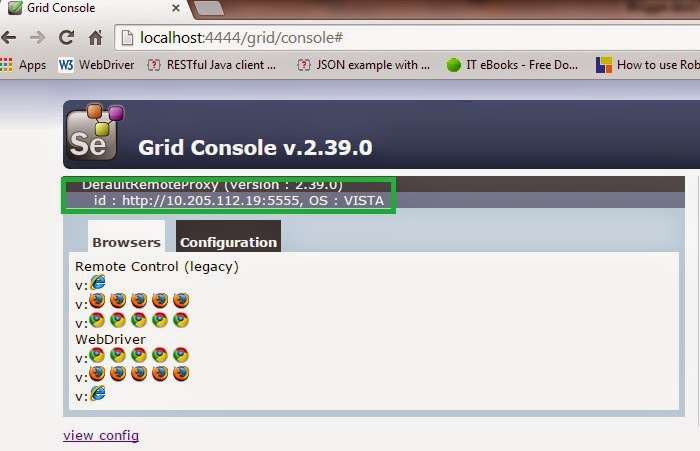
In the previous post we have seen how to configure Selenium Grid and distribute tests to execute on nodes (Either virtual or physical machines). In this post we will learn how to distribute tests on different machines with different browsers.
Configure Hub: It will be same as we have done in previous post.
Configure Nodes: To configure nodes we will follow the same command we have used in previous post but with some extra options.
Now we have condition to setup our environment for different browsers on different machines.
For Firefox: As we know the driver for Firefox browser is already provided by Selenium Webdriver API, so we do not need any driver to initialize the Firefox browser. We will run the command written below to start node for Firefox:
java -jar selenium-server-standalone.jar -role node -hub http://localhost:4444/grid/register -port 5656
For Chrome: Driver to initialize Chrome browser is not provided by Selenium Webdriver API, so start the node for Chrome browser we need to download the Chrome Driver. You can easily find the binary for Chrome driver on web or you can follow the link:
http://docs.seleniumhq.org/download/
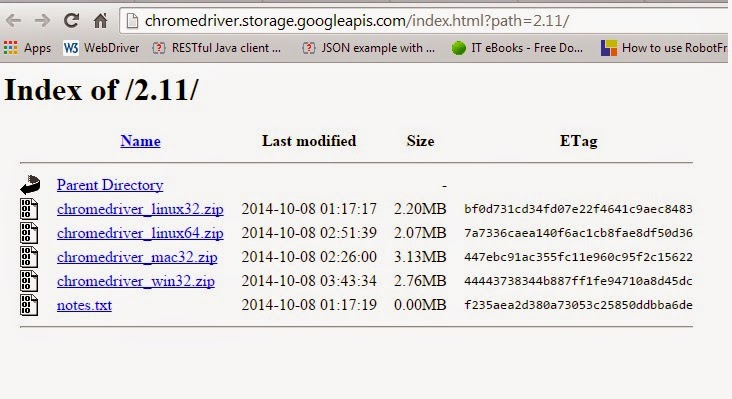
You will download the chromedriver binary with respect to the Operating System:
After downloading the Chrome driver we need to create an instance of Webdriver for Chrome browser, we will run the following command:
Java -Dwebdriver.chrome.driver= “C:\My Files\Selenium Browser Drivers\chromedriver.exe” -jar selenium-server-standalone.jar -role node -hub http://192.201.16.21:4444/grid/register -port 5757
For Internet Explorer: Driver to initialize IE browser is also not provided with Selenium Webdriver API, so to start the node for IE browser we need to download the ID Driver. You can easily find the binary for IE driver on web or you can follow the link:
You will download the iedriver binary with respect to the 32 or 64 bit Windows Operating System.
After downloading the ie driver we need to create an instance of Webdriver for internet explorer browser, we will run the following command:
Java –Dwebdriver.ie.driver= “C:\My Files\Selenium Browser Drivers\IEDriverServer.exe” –jar selenium-server-standalone.jar -role node -hub http://192.201.16.21:4444/grid/register -port 5858
Once we are done with the registration of nodes for Firefox, Chrome and Internet Explorer, we will create a Maven project (I am using Maven to make my life easier, you can create project by another method as well).
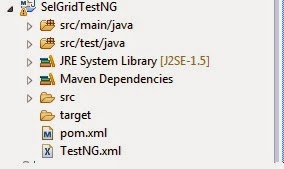
In below screen shot you can see that I have created a Maven project and added a TestNG.xml to manage Test Suites and Test Cases.
Write the test script, find the sample code below:
import java.net.MalformedURLException;
import java.net.URL;
import java.util.concurrent.TimeUnit;

import org.openqa.selenium.By;
import org.openqa.selenium.Keys;
import org.openqa.selenium.Platform;
import org.openqa.selenium.WebDriver;
import org.openqa.selenium.interactions.Actions;
import org.openqa.selenium.remote.DesiredCapabilities;
import org.openqa.selenium.remote.RemoteWebDriver;
import org.testng.annotations.AfterTest;
import org.testng.annotations.BeforeTest;
import org.testng.annotations.Parameters;
import org.testng.annotations.Test;

public class DistributeTests {

 WebDriver driver;

 @Parameters("browser")
 @BeforeTest
 public void launchBrowser(String browser)
 {
  String URL = "http://www.google.com";
  if (browser.equalsIgnoreCase("firefox"))
  {
   System.out.println("Initializing FireFox");
   String Node = "http://10.205.112.18:5656/wd/hub";
   DesiredCapabilities cap = DesiredCapabilities.firefox();
   cap.setBrowserName("firefox");
   cap.setPlatform(Platform.WINDOWS);
   try {
    driver = new RemoteWebDriver(new URL(Node), cap);
   } catch (MalformedURLException e) {
    System.out.println("Requested Browser is undefined");
   }
   driver.manage().timeouts().implicitlyWait(10, TimeUnit.SECONDS);

   driver.get(URL);
  }
  else if (browser.equalsIgnoreCase("chrome"))
  {
   System.out.println("Initializing CHROME");
   DesiredCapabilities cap = DesiredCapabilities.chrome();
   cap.setBrowserName("chrome");
   cap.setPlatform(Platform.WINDOWS);
   String Node = "http://10.205.112.19:5757/wd/hub";
   try {
    driver = new RemoteWebDriver(new URL(Node), cap);
   } catch (MalformedURLException e) {
    System.out.println("Requested Browser is undefined");
   }
   driver.manage().timeouts().implicitlyWait(10, TimeUnit.SECONDS);

   driver.get(URL);
  }
  else if (browser.equalsIgnoreCase("ie"))
  {
   System.out.println("Initializing IE");
   DesiredCapabilities cap = DesiredCapabilities.internetExplorer();
   cap.setBrowserName("ie");
   cap.setPlatform(Platform.WINDOWS);
   String Node = "http://10.205.112.19:5757/wd/hub";
   try {
    driver = new RemoteWebDriver(new URL(Node), cap);
   } catch (MalformedURLException e) {
    System.out.println("Requested Browser is undefined");
   }
   driver.manage().timeouts().implicitlyWait(10, TimeUnit.SECONDS);

   driver.get(URL);
  }

 }

 @Test
 public void runTests(){
  driver.findElement(By.id("gbqfq")).sendKeys("Selenium Grid");
  (new Actions(driver)).sendKeys(Keys.ENTER);
 }

 @AfterTest
 public void tearDown(){
  driver.quit();
 }
}
Now it’s time to manage all test configurations from created TestNG.xml. We have a situation to execute test in parallel on Firefox, Chrome and IE browsers and for that we will have to set the attribute ‘parallel=”tests”;’
Finally it’s time to execute the tests. Run the test as TestNG Test.
Stay tuned to see more updates.
Facebook Page: https://www.facebook.com/crazzzygig
